I’ve had some old waterbed frames (mostly 2×8’s and 2×10’s) that I picked up from a thrift store a while back for $2 each. When our basement flooded last summer, it ruined some of the furniture, one of which was the kids homework desk. I decided to replace them making some that were an exact fit for the space.
This is how the boards looked at the beginning of the project.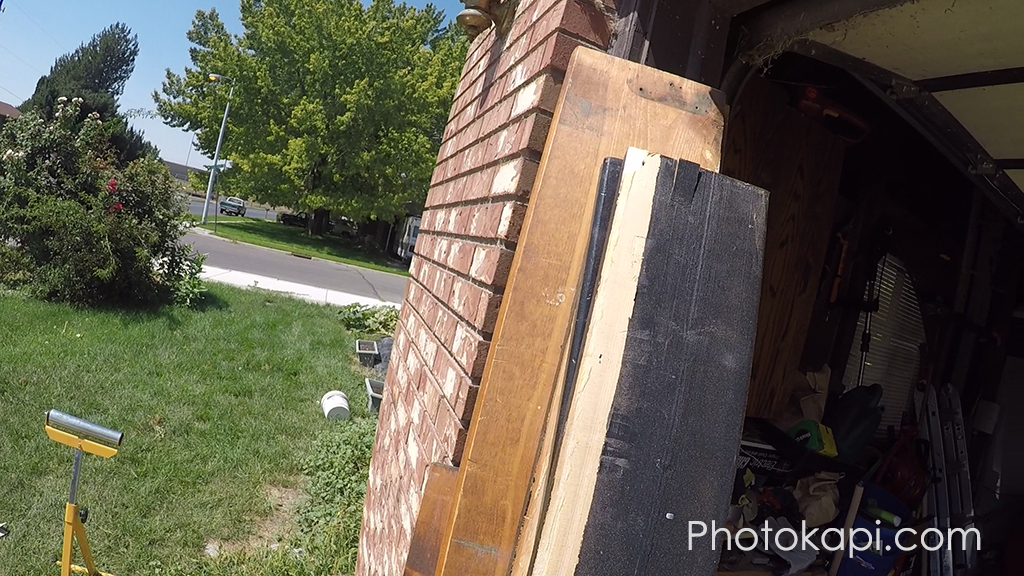
First, I planed them down to be be the same thickness, and remove the finish.

Then after removing the finish from the top and bottom, they looked much better.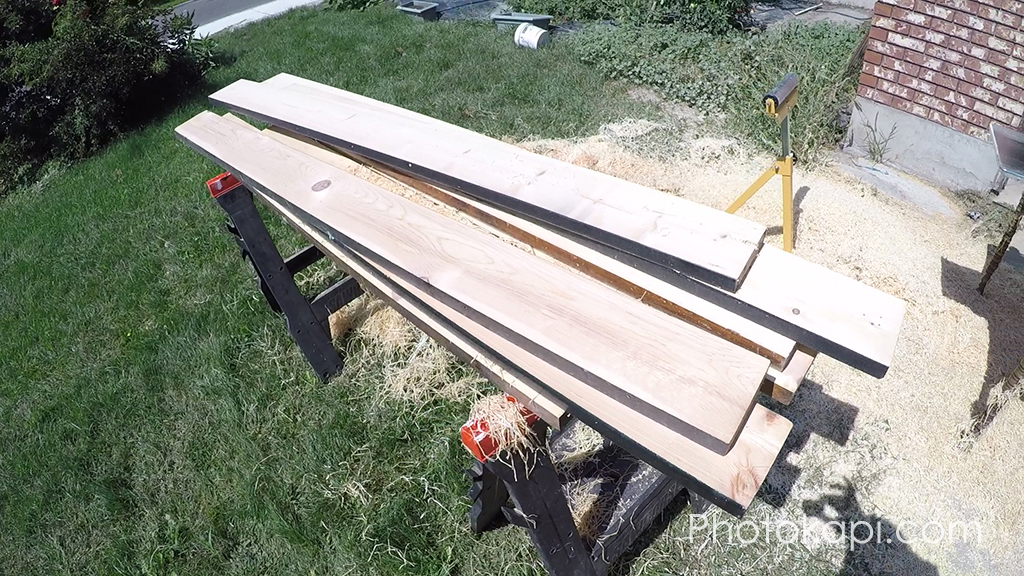
Then, I cut them to length, and glued them together, with four 1/2 inch dowels across the seam to help them hold together better. Then I spent a fairly unreasonable amount of time planing and sanding the faces down to be smooth. After several hours, I decided that it would be better to accentuate the flaws rather than try and sand them all out. I also realized, since it is pine, it is fairly likely to get scraped, marred and dented in the future, so I decided to burn the surface to add character.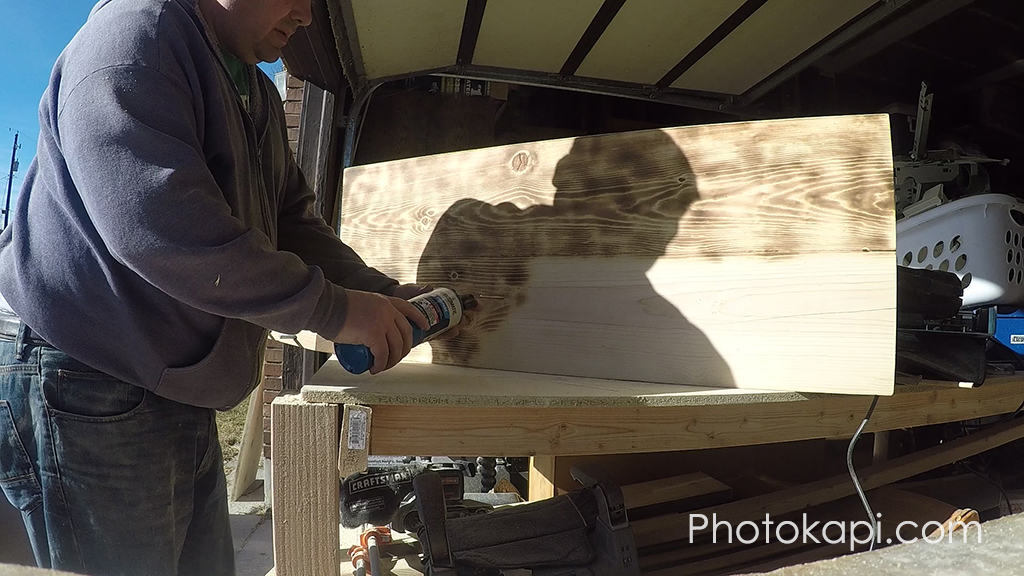
After burning both sides, I applied the first layer of wipe-on polyurethane.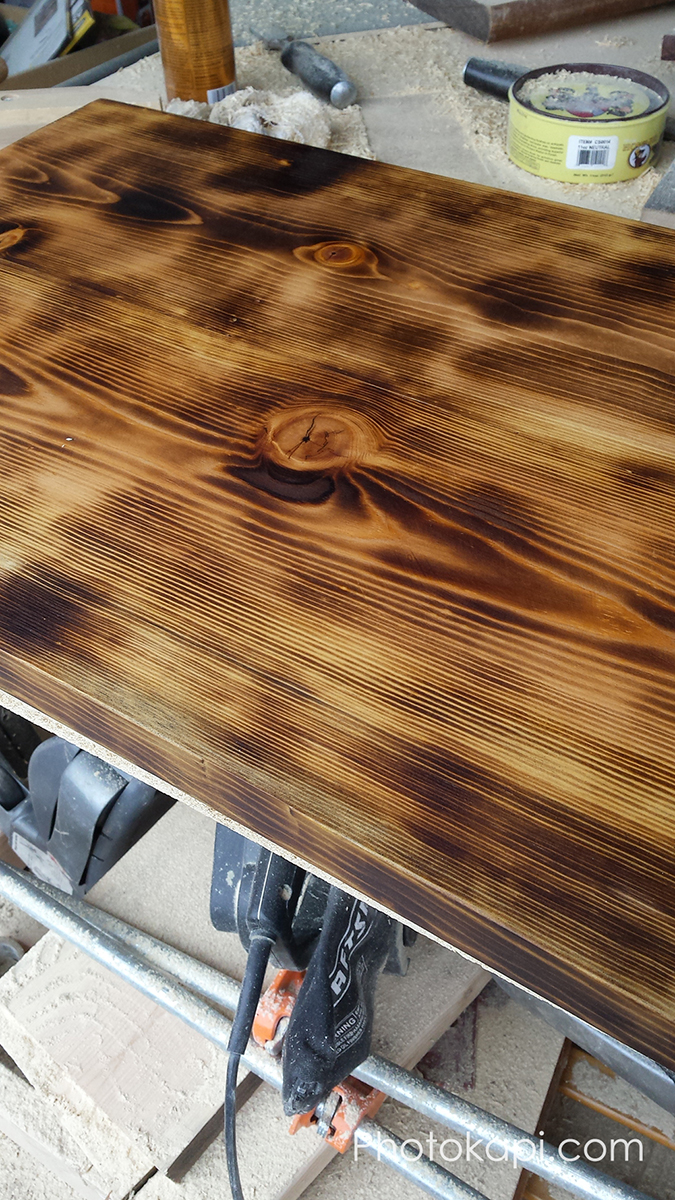
Then, I applied a second layer, and buffed it by hand for a smooth shine.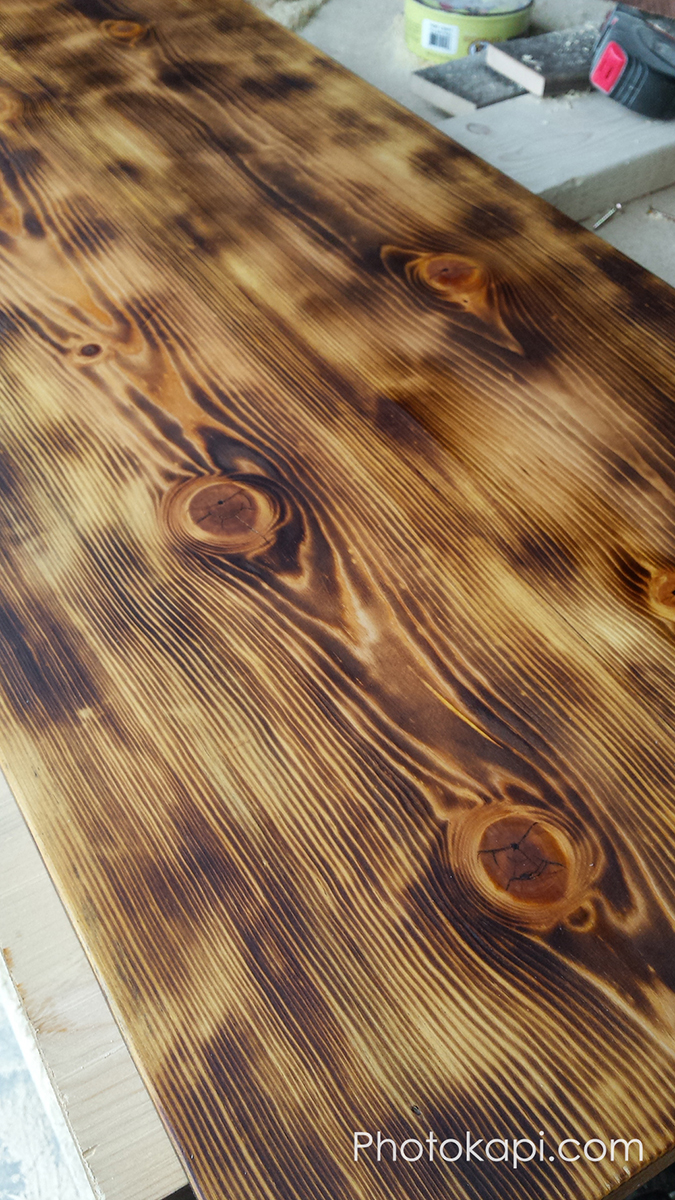
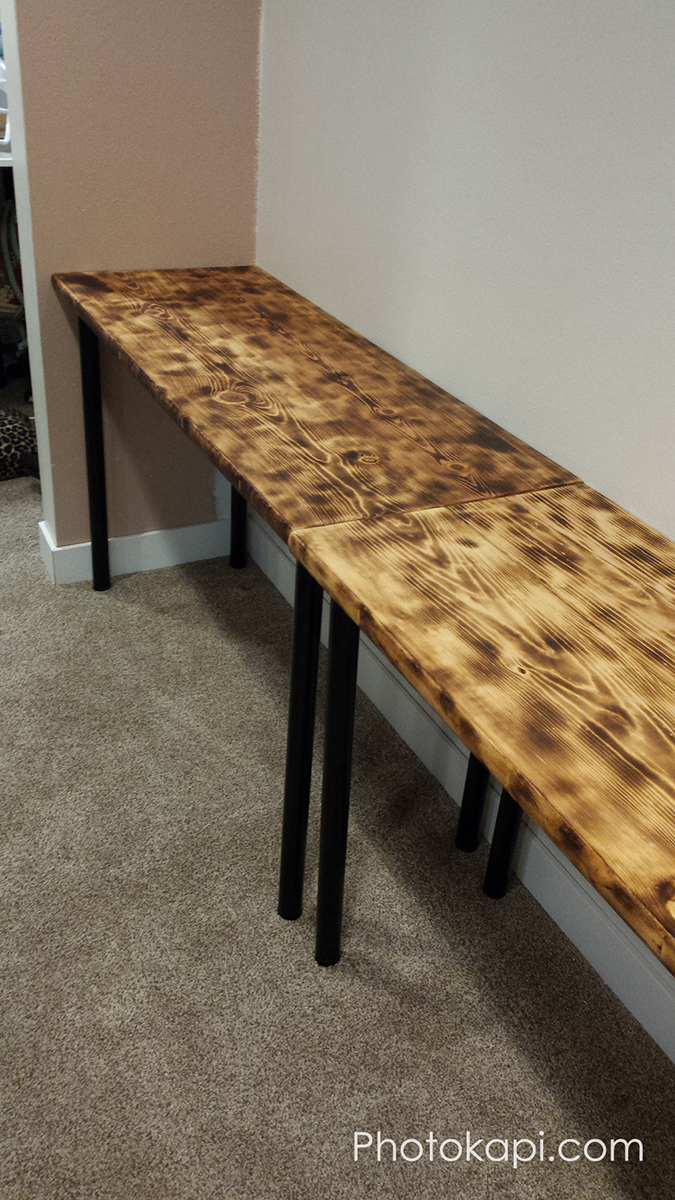
I then attached table legs I bought from IKEA for $4 each and put them in place in the basement.

They turned out really well, and the kids will get a lot of use out of them. I like the rustic look of the burned wood, and I will do the same type of finish again in the future.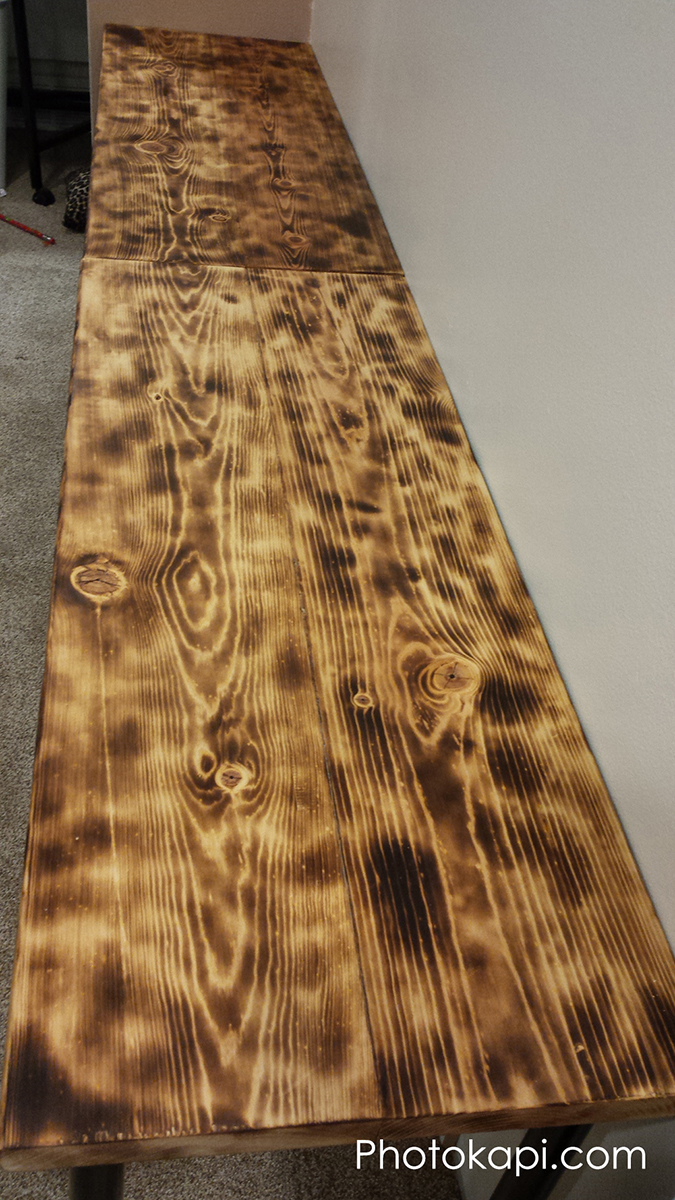

Leave a Reply